We may earn money or products from the companies mentioned in this post.
If you want to know how to add an email newsletter subscription to your website, then I have some step-by-step instructions for you here.
What follows is a beginner-friendly tutorial on how to add a good-looking subscription box to your WordPress website, and how to connect it to an email marketing service. Best of all, this won’t cost you a dime.
The things you need before you can add an email newsletter subscription to your website
The good news here; you need basically nothing on top of what you already have, which is:
- a working WordPress website
- an admin account on that website
- roughly 15 minutes of your time
There are just four steps to the entire process:
 Sign up with Mailchimp
- Authorize your site
- Install a WordPress plugin for newsletter signups
- Add an email newsletter subscription to your website design
 Sign up with Mailchimp
 Authorize your site
 Install a WordPress plugin for newsletter signups
 Add an email newsletter subscription to your website design
Here’s how to get through all of them (no coding skills required).
Step 1: Sign up with Mailchimp
“What’s Mailchimp?” – I hear you asking. To say it simply, Mailchimp is the tool that will take care of your newsletter subscribers and deliver your email messages to them.
“Okay, but why can’t I just send my newsletters from Gmail?” This is a common question. And rightly so – it’s an intuitive thing to ask.
Well, as much as Gmail works fine when you’re sending one email message to one person (a classic case of personal use), things don’t work out just as well when you start sending the same message to multiple recipients – like you would with a newsletter.
After a while of doing that, your emails will be marked as spam and stop being delivered to your recipients entirely. This is why you want someone else to take care of the actual sending of emails. Ideally, this should be a company that has a good reputation and won’t get your messages flagged.
This is where Mailchimp comes into play.
Here’s what you should know about Mailchimp, and why using it for adding an email newsletter subscription to your website is a good idea:
- Mailchimp is free to use as long as you have fewer than 2,000 subscribers and are sending fewer than 12,000 emails per month.
- Mailchimp will take care of keeping your list of subscribers safe and in tune with the international data privacy laws.
- Mailchimp will also handle new subscriptions coming in and make sure that everyone who opted in to receive newsletters from you will indeed receive them.
- Mailchimp can be integrated with your site easily.
To get started with Mailchimp, go to Mailchimp.com and click on the button labeled Sign Up Free.

Mailchimp will ask for some necessary details and then set up your account promptly. You’ll also get a standard confirmation email with an activation link.
When activating your account, you’ll need to go through a quick setup wizard and answer a couple more questions about your site and business. Most of that is needed to adequately comply with international anti-spam laws (read: to keep your newsletter out of trouble).
When you’re done with that, you’ll be able to start working with your new Mailchimp account.
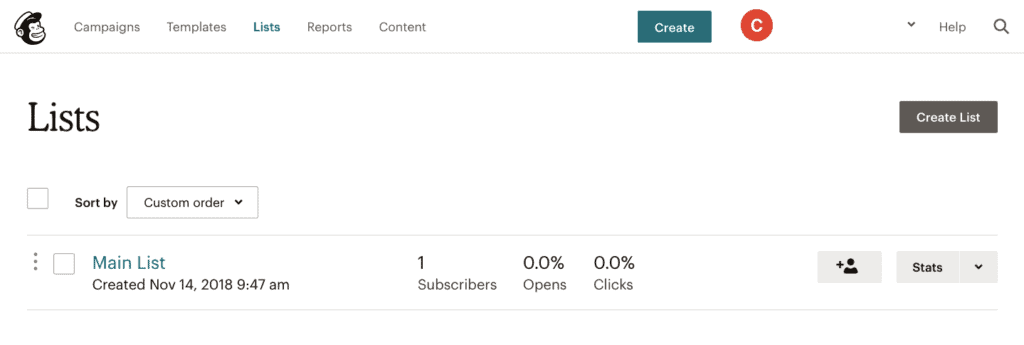
By default, Mailchimp creates one primary list of contacts for you and puts your own email in it – so you are your first subscriber. This is also where all your actual subscribers get assigned when they sign up to receive your newsletters. You can find that list of contacts by clicking on Lists from Mailchimp’s main menu.
Just to give you an idea of what Mailchimp can do for you, here are the other sections available via the main menu on the dashboard:
- Campaigns – this is where you’ll go to send out new newsletters
- Templates – this is where you’ll keep your email newsletter templates
- Lists – this is where your lists are kept (you can see an example in the screenshot above)
- Reports – once you have a couple of newsletters sent, this is where you’ll see reports on the effectiveness of your campaigns, clicks, opens, and more
- Content – files, graphics, and other assets that you can use in your newsletters
Step 2: Get the required authorization
Before you can integrate your website with Mailchimp, you’ll need a little something called an API key.
In simple terms, an API key is a unique authorization method that tells Mailchimp that your website should be allowed to connect to your Mailchimp account. After all, you wouldn’t want other people to be able to connect with your Mailchimp account – that’s why this layer of access control is in place.
Here’s how to get the API key:
Simply go to this page: https://admin.mailchimp.com/account/api
Once there, scroll down to the part of the page where it says “Your API keys”:
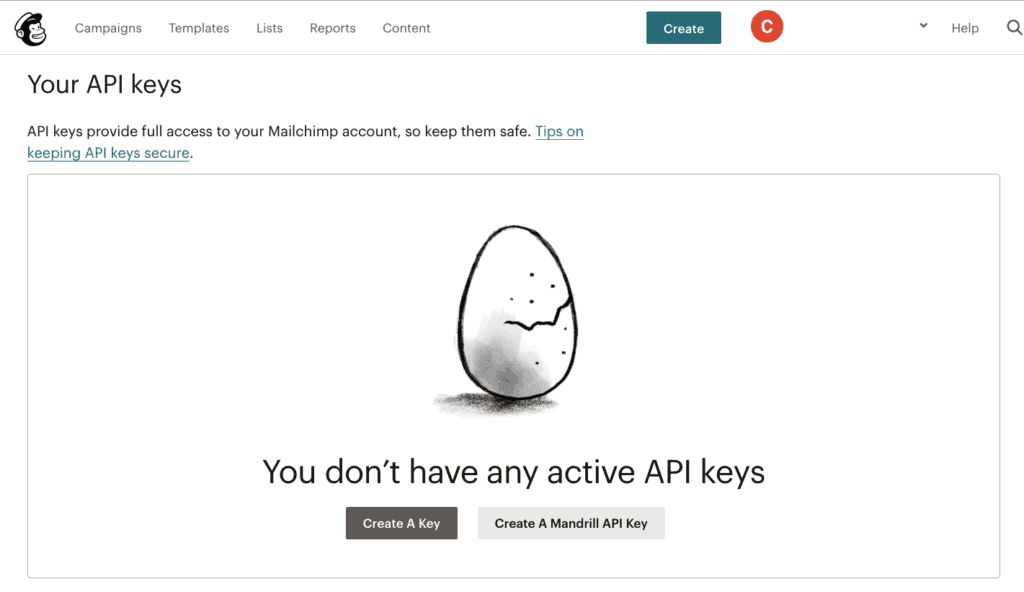
Click on the Create A Key button to have a new API key generated. You’ll see a message that a key has been created, at which point you’ll find your key further down the page. It’ll look something like this (excuse the blacked out parts – sensitive private info there):
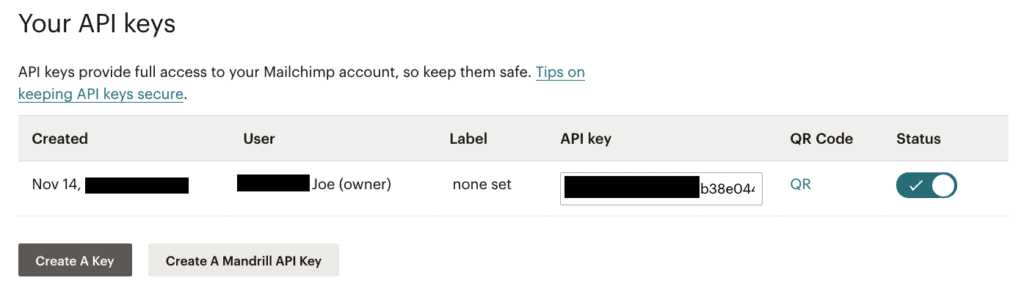
We’ll come back to this page in a second. For now, let’s move on to your WordPress dashboard:
Step 3: Install a Mailchimp plugin for WordPress
The next thing you need is a WordPress plugin to integrate Mailchimp with your website.
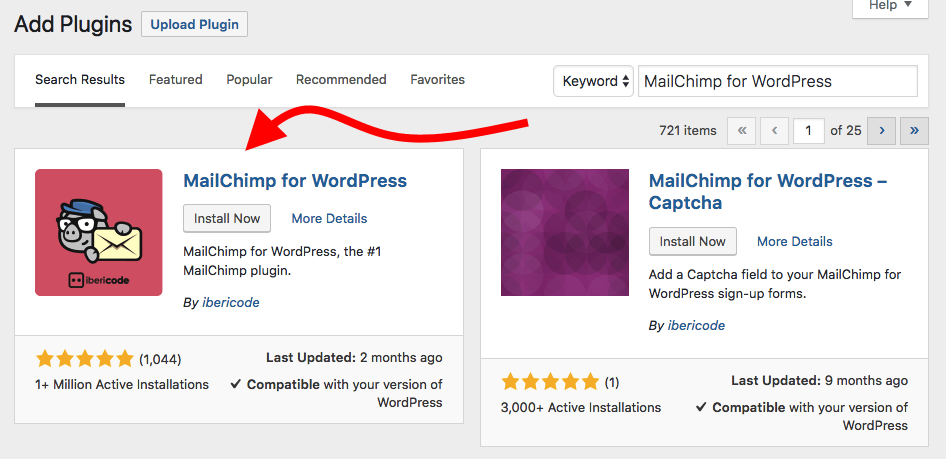
From your WordPress dashboard, go to Plugins → Add New. In the search field, enter “MailChimp for WordPress“. Install the plugin of the same name:
Before the plugin can be used, it needs to be activated. You can do that by going to Plugins and clicking on Activate under the plugin’s name.

At this stage, the plugin is almost ready to be used and you’ve nearly managed to add an email newsletter subscription to your website.
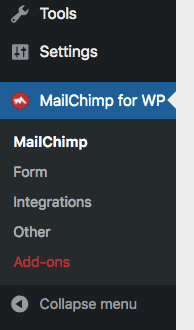
To get it 100% enabled, go to the Mailchimp for WP section that’s just appeared in your WordPress dashboard – you’ll see it somewhere below the main settings. Click on that new header:
The only thing that the plugin needs right now to integrate with your Mailchimp account is that API key.
Go back to https://admin.mailchimp.com/account/api (preferably in another browser tab), and copy and paste the API key into place. Click on Save Changes.
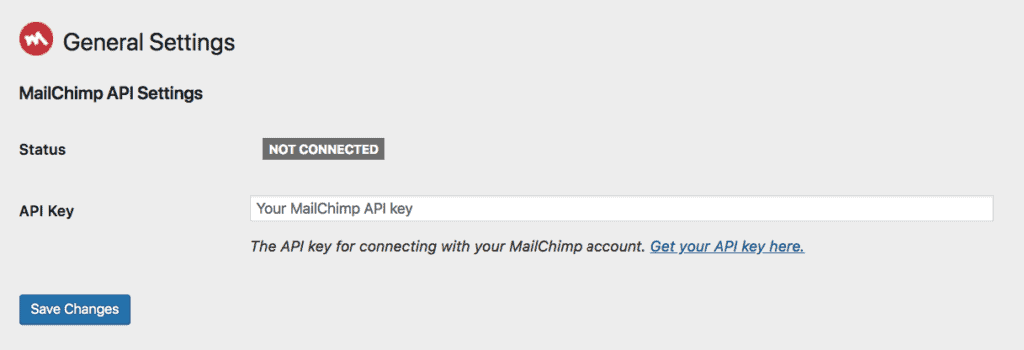
You’ll see a green confirmation pop-up and, at this point, your website is fully connected with your Mailchimp account!
Step 4: Create a newsletter signup form
The only piece of the puzzle that’s missing is a signup form that people can use to get onto your newsletter list.
The Mailchimp plugin that we installed a moment ago makes this really easy.
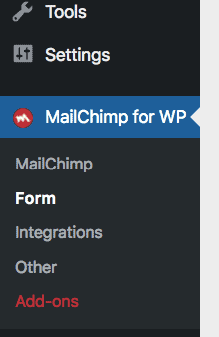
Just go to Mailchimp for WP → Form.
Once there, you’ll see a basic signup form pretty much pre-made for you. All you need to do at this point is fine-tune its appearance and perhaps add some additional copy.
At the bottom of the page, you can see what your subscription form looks like out the box.
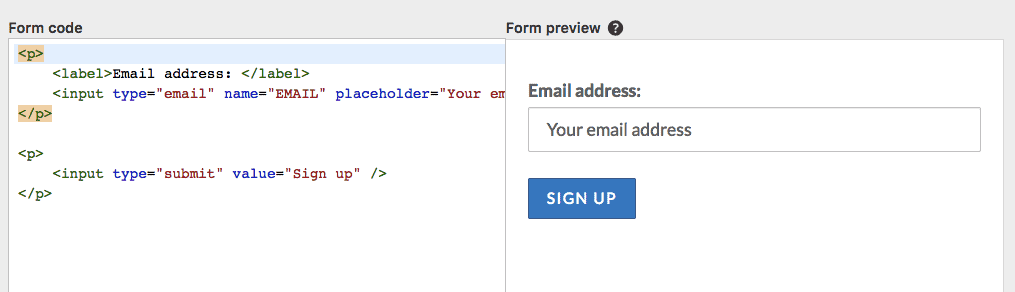
Nothing fancy. To begin with, let’s add some custom copy.
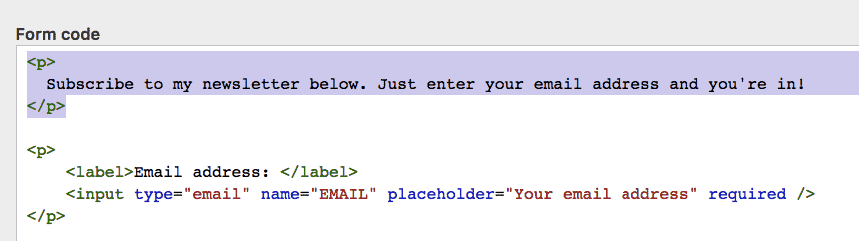
Put the following text right at the beginning of the “Form code” block.
<p>
  Subscribe to my newsletter below. Just enter your email address and you're in!
</p>
Like so:
 Note. The text you see above is just an example. You should think good on what to put there in order to persuade people to subscribe. This message is going to be unique to your website and the type of audience you want to reach.
You’ll see the preview refresh automatically.
If you’d like to change the default styling of the form, you can do that by switching the tab to Appearance and picking some other predefined settings.
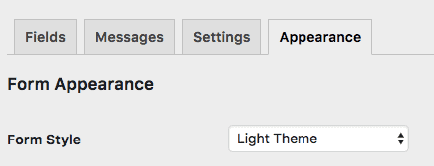
Don’t forget to click on Save Changes when you’re done.
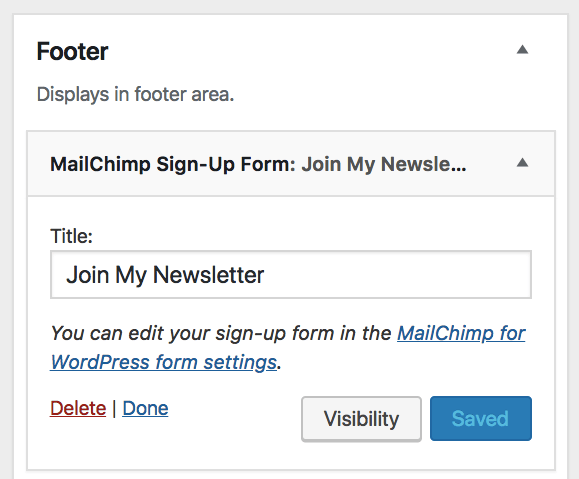
Now it’s finally time to make that form display somewhere on your site! The most common way of doing that is by adding it as a widget to either your sidebar or footer.
To do that, just go to Appearance → Widgets in your WordPress dashboard. You’ll see a new widget there called MailChimp Sign-Up Form. Simply drag and drop it to your desired widget area.
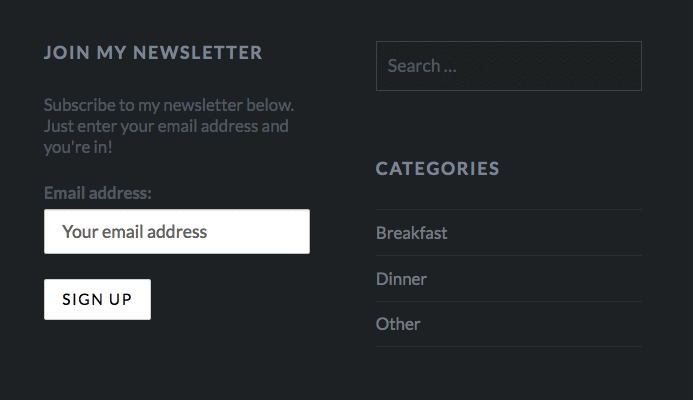
At this stage, your newsletter signup form has been added to a widget area and is fully operational. Everyone who visits your website will see it. Here’s what mine looks like:
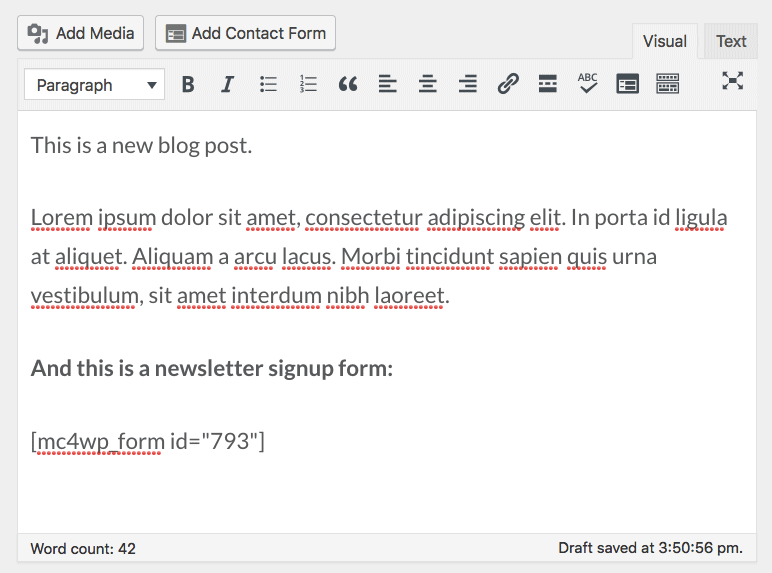
Bonus. Want to add your form under a blog post or page? Go to Mailchimp for WP → Form and grab the shortcode that’s right beneath the form’s name. You can now put that shortcode wherever you wish within your website. Like so:
Done and done!

That’s it; we’ve just managed to add an email newsletter subscription to your website. Are you happy with how your signup form has turned out? Is there anything else I can help you with?
If you want to learn more about building a WordPress website and how to use it for marketing your business, we have more info on the site:
- How to Create Email Accounts for Your Domain Name
- How to Make a Website
- How to Start an Online Store
- How to Start a Blog
The post How to Add an Email Newsletter Subscription to Your Website appeared first on websitesetup.org.